WEAVING TOOLS : BLUEPRINTS
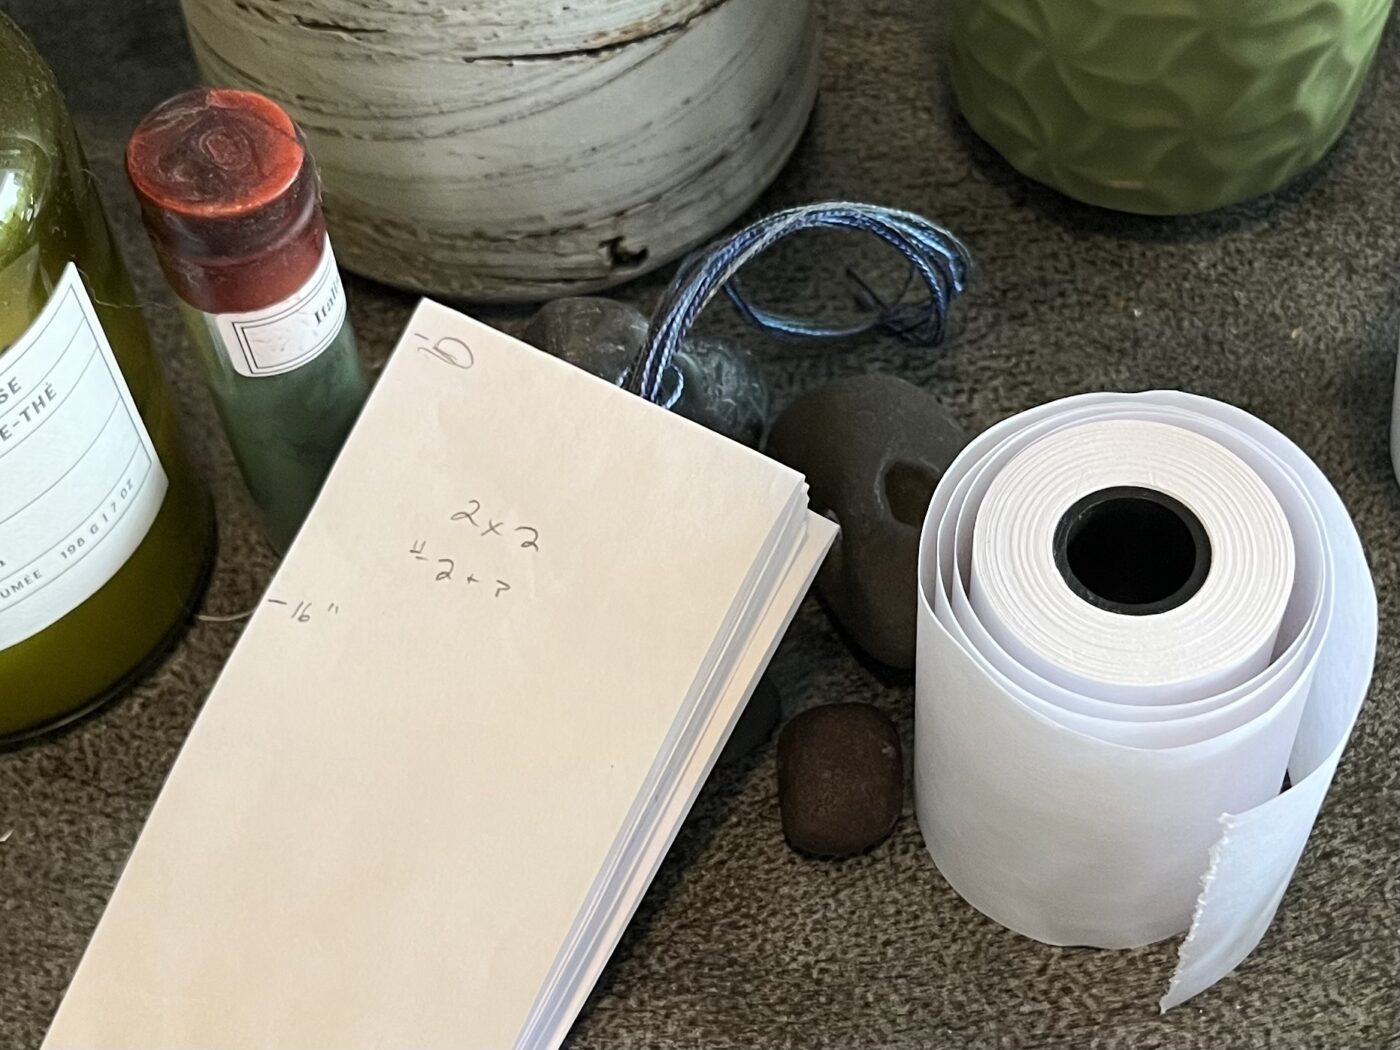
The roll of cash register receipt tape pictured here rates highly among useful weaving tools I keep close at hand while weaving.
Before I came up with the system explained here I had two main problems:
- I kept track of my weaving projects on 8 1/2 x 11 inch sheets of paper which in turn were stored in binders. The 30+ years of weaving notes and their binders were taking up too much room.
- My method for tracking the length of the fabric woven needed improving. My tracking method to date was accomplished by stopping every so often, measuring my weaving, putting a pin in the cloth to mark where I had taken my last measurement, and recording the length on a sticky note. But I was snookered if the pin fell out and I was past the point of being able to remeasure the cloth from the hemstitching or, if the gum on the sticky dried, and the note floated away only to be found until 3 months later in a basket near the loom.
One day, while spinning, I was pondering these two dilemmas; how to free up more storage space and create a better recording system for myself.
My first line of attack was to go through the shelves of binders and throw out all the notes from past projects I was unlikely to repeat. Dang. Still too much. But I was on the right track.
I turned my attention to the second dilemma. I tried using a ribbon marked in 1 inch increments as I knew some weavers did. It was better than the pinning method, but still lacking
Then one day it came to me. I could use a length of cash register receipt tape and use it as what a dear friend now refers to as my “Weaving Blueprints”.
I don’t keep Blueprints for every weaving project, just those projects I know I want to repeat. The best part of a Blueprint is how compact it is; the projects I want to keep records for are easily folded and stored in a recipe card holder. No more shelves filled with binders of notes.
Here are some of ways I use Blueprint #1, the types of information I record on it, and the things I do to keep track of the project on Blueprint #1.
BLUEPRINT #1
How:
– I cut the paper tape the same length I want for the finished project (without fringes or hemming)
– I note measurements, as I weave, while the fabric is under tension
– After I weave 10 inches, I pin the fabric at the 10” mark and with the fabric still under tension, I take my first measurement. Then I loosen the tension and take my second measurement, the length to the 10” mark with the tension removed. With a little bit of math I determine how many inches I need to continue weaving once I have woven to the end of the tape to render the desired length.
– I am right handed (if you are left handed you may wish to adjust this next part). Before advancing the warp, I place the paper tape along the left selvedge, and **secure a pin through both the tape and the cloth. I remove the paper tape, put the pin back into the cloth to mark where I measured to, and then circle the two pin holes on the paper.**
– Each time I am ready to advance the warp and note the length on the tape, I line the circled pin holes up with the pin in the cloth, measure, and repeat **
Note: I do not pin the blueprint to the fabric. It is kept close at hand during weaving for reference and the long strip of paper is really easy to find when needed.
Information Recorded on the Face of Blueprint #1:
– At the beginning of the tape, I record my hemstitching notes. How many warp threads I went over and how many shots were thrown before the hemstitching. It is easy to refer to these notes when I get to the end of the weaving instead of relying on my iron clad memory cause ya know, I always think “For something soooo simple, there is no need to write THAT down!”.
– The weft colours used and where they were woven into the fabric (C1, C2, C3, etc.)
– Where I will put in stripes, if there will be stripes. If I have planned to mirror the stripes at the end of the fabric to the stripes at the beginning, I simply flip the paper tape to striping sequence noted at the beginning of the tape.
– If weaving a scarf, I can hang the paper tape around my neck, and mark where I want to place accent yarns or colours.
– How many picks were used of each colour to create the stripes in the various sections.
Information Recorded on the Back of Blueprint #1:
This is where I record all my planning notes and calculations, yarns used, amount of warp needed, amount of weft needed, warp length, sett, sequence used to sley the reed, etc., etc.
BLUEPRINT #2
How:
When I have a project where I want to match the width of stripes in the weft to the width of stripes in the warp, I cut the paper tape the same width of the warp on the loom, mark of the stripes in the warp, and then turn the paper tape perpendicular to weave the weft and match up with the warp stripes.
YARN SAMPLES
The tape holds yarn samples of each yarn used in each project. As I work my way through a project, I keep a 1-yard length of each warp and weft yarn used to attach to the Blueprint when I am finished weaving.
When the project is finished, I punch a hole through the end of the tape, secure the yarns to the Blueprint, fold the tape, and pop it into my recipe box.
That is today’s handy dandy tip. Cheers, Kim